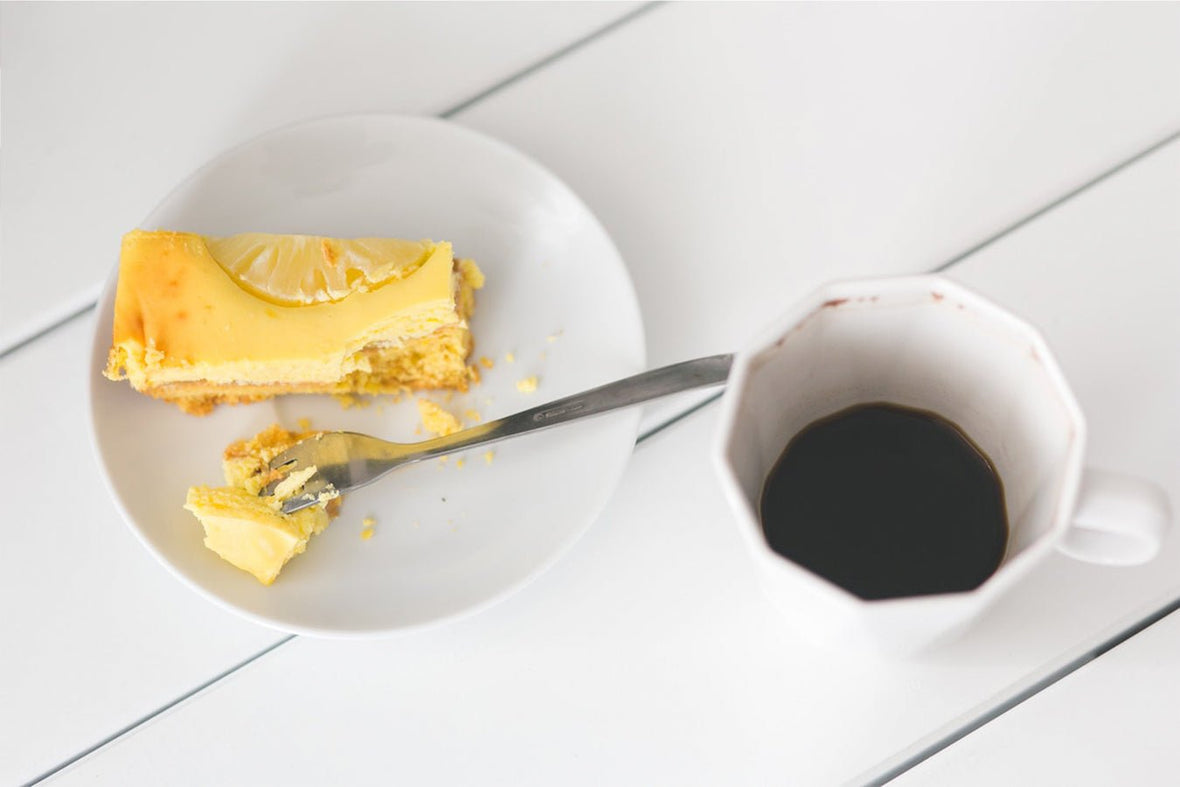
DIY Tea Infused Cashew Cheesecake
Ryan Thompson
Over the past few years my wife and I have navigated the challenging battle of forced diet changes. For you see, my wife developed an allergy to dairy and eggs. It is not until you are not able to have something that you then start to realize how many items those ingredients are found in! Everywhere we turned we would feel a rather strong door closing abruptly in our face.
Our family celebrated a birthday recently and the journey to find a desert we could enjoy without getting sick took front seat, once again. After searching for countless varying deserts online I decided on giving a vegan cheesecake recipe a try. Talking to my tribe I discovered that it was "just as good as the real thing" which I took with a grain of salt.
I've heard that pitch one too many times before. I believe it's the approach to life in which you view everything half full where in reality you are lying a little bit to yourself in the process. I was game. It wouldn't hurt to at least try.
I like to take several recipes and put my own personal spin on them. I seek out the baseline strategy and let my creative juices flow. The sole intent in this recipe was to cater to my wife since she can’t have dairy or eggs.
Feel free to change this recipe for yourself depending upon your food allergy restrictions. This is a nut based recipe unfortunately for those with known allergic reactions.
Be sure you grease your cheesecake bowl with coconut oil for easy removal once it is set up. A best practice is to soak nuts in hot water for at least 2 hours. I saw a lot of recommendations to soak the cashew nuts overnight but we wound up experiencing a super creamy cheesecake with just 2 hours, so I highly recommend that.
Here is the recipe I followed:
Crust. I used a pretzel base to get away from almonds I was typically seeing in recipes. My wife is sadly allergic to almonds so this was another substitution I made. The crust wound up being deliciously and held together very well.
- 1 1/2 cups pretzels
- 3/4 cup pure maple syrup
- 1/4 tsp salt
Cashew Cake. I wanted to use tea as an infused ingredient to give my desert a wonderful flavor. It wound up being slightly caffeinated but the flavor it imparted was so delicious.
- 1 1/2 cups raw cashews (see note about soaking times above)
- 1/3 cup pure maple syrup
- 1/2 cup unsweetened coconut milk
- 3 Tbsp melted coconut oil
- 2 Tbsp lemon juice
- 1/2 cup loose leaf hibiscus tea (I used our own Organic Passion tea for some lemongrass, hibiscus, and green rooibos notes, but I could see other herbal infusions being just as good. I tried to stay away from black, green, or white teas due to the fact there may be some reaction to higher amounts of acidity that the lemon juice might bring up when combined with it)
- 1/4 tsp salt
I approached this recipe with making the crust first, since it is the base of this recipe. Put all these ingredients into your food processor and grind it up until it is not nearly a flour consistently, but almost there. You want it to have a little crunch left to it. I used pretzel sticks for this recipe.
Once they are processed put them in your greased cheesecake bowl. Use a spatula to get the ingredients in an even compact layer. This recipe should look similar to a peanut butter consistency. Add more maple if it is not wet enough or add more pretzels if it is too wet when you make it.
Since all pretzels are created differently in size, please make sure the consistency works for you. There should be enough to create a centimeter layer at the bottom for your future cheesecake.
To create your cashew cake, simply strain the water out from its soaking container (recommended times above). Pour all your cashew cake ingredients into a food processor. Blend until super smooth and silky. I ran my processor for around five minutes to ensure it was super smooth.
Once it has reached your desired consistency pour the ingredients on top of the crust layer. Use spatula to make the cake smooth on the top. Wanting to leave the cake super decorative I put gently chopped walnuts (for a crisp) as well as hibiscus flowers to make its presentation appealing.
Cover with foil to seal your container and put it in the freezer for six hours to set up. This allows it to thicken and get cold like cheesecake. Once it has reached the six hour timeframe, take it out to cut into pieces.
Store it in the freezer when not eating. As your stomach growls for a desert, simply take it out of the freezer 30 minutes before you want to consume it so it can thaw. I recommend no more than a seven day shelf life. Our cheesecake was easily gone within a few days.

